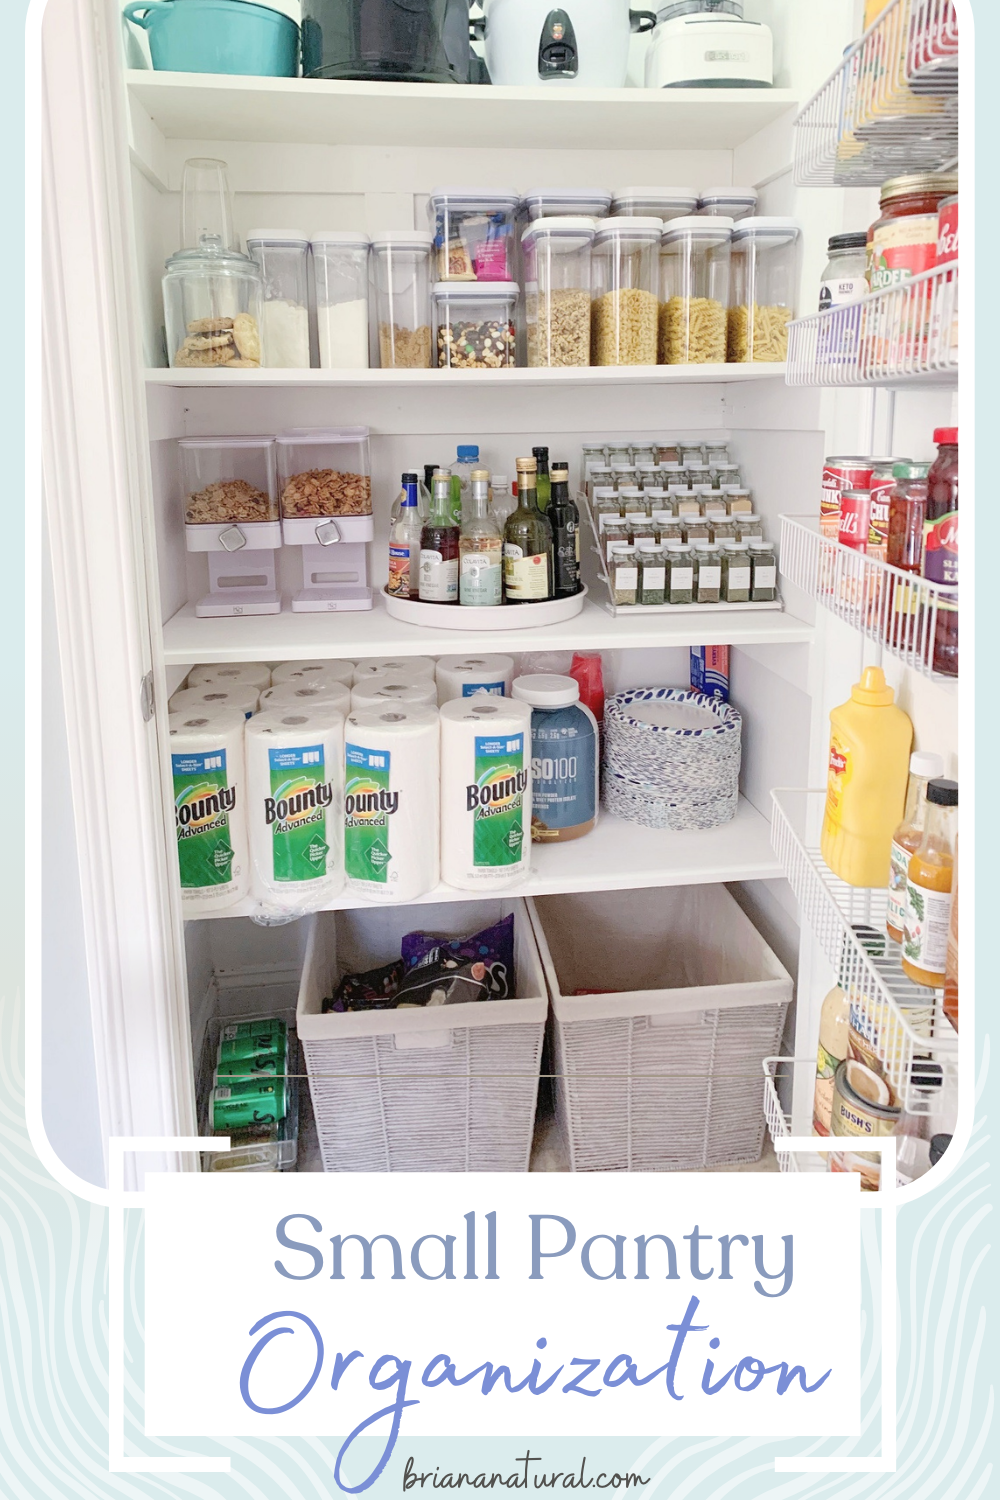
Modern Small Pantry Organization
Let’s face it. There’s little worse than opening your pantry door for a quick snack only to be greeted by an avalanche of half opened boxes and bags! Losing control of the clutter can happen easily when you’ve got kids and a small closet pantry. A well organized pantry is not only functional, but visually appealing too. So, if you’ve been dreaming of a clutter-free kitchen with an efficient pantry, join me on my journey into the world of organization. Step one – pantry! In this post, we’ll dive into a step-by-step guide to transform your pantry into a well-ordered oasis (with some questionable food discoveries along the way)!
Step 1: Assess and Clean
You’re going to need to take EVERYTHING out. You’ll be surprised how much expired food has been lurking in the dark panty corners. Throw out what’s expired, what’s stale, and what you know won’t be eaten. Even better if you can donate! Sort what you’re going to keep into separate categories. Clean all shelving before moving forward.
Step 2: Optimize
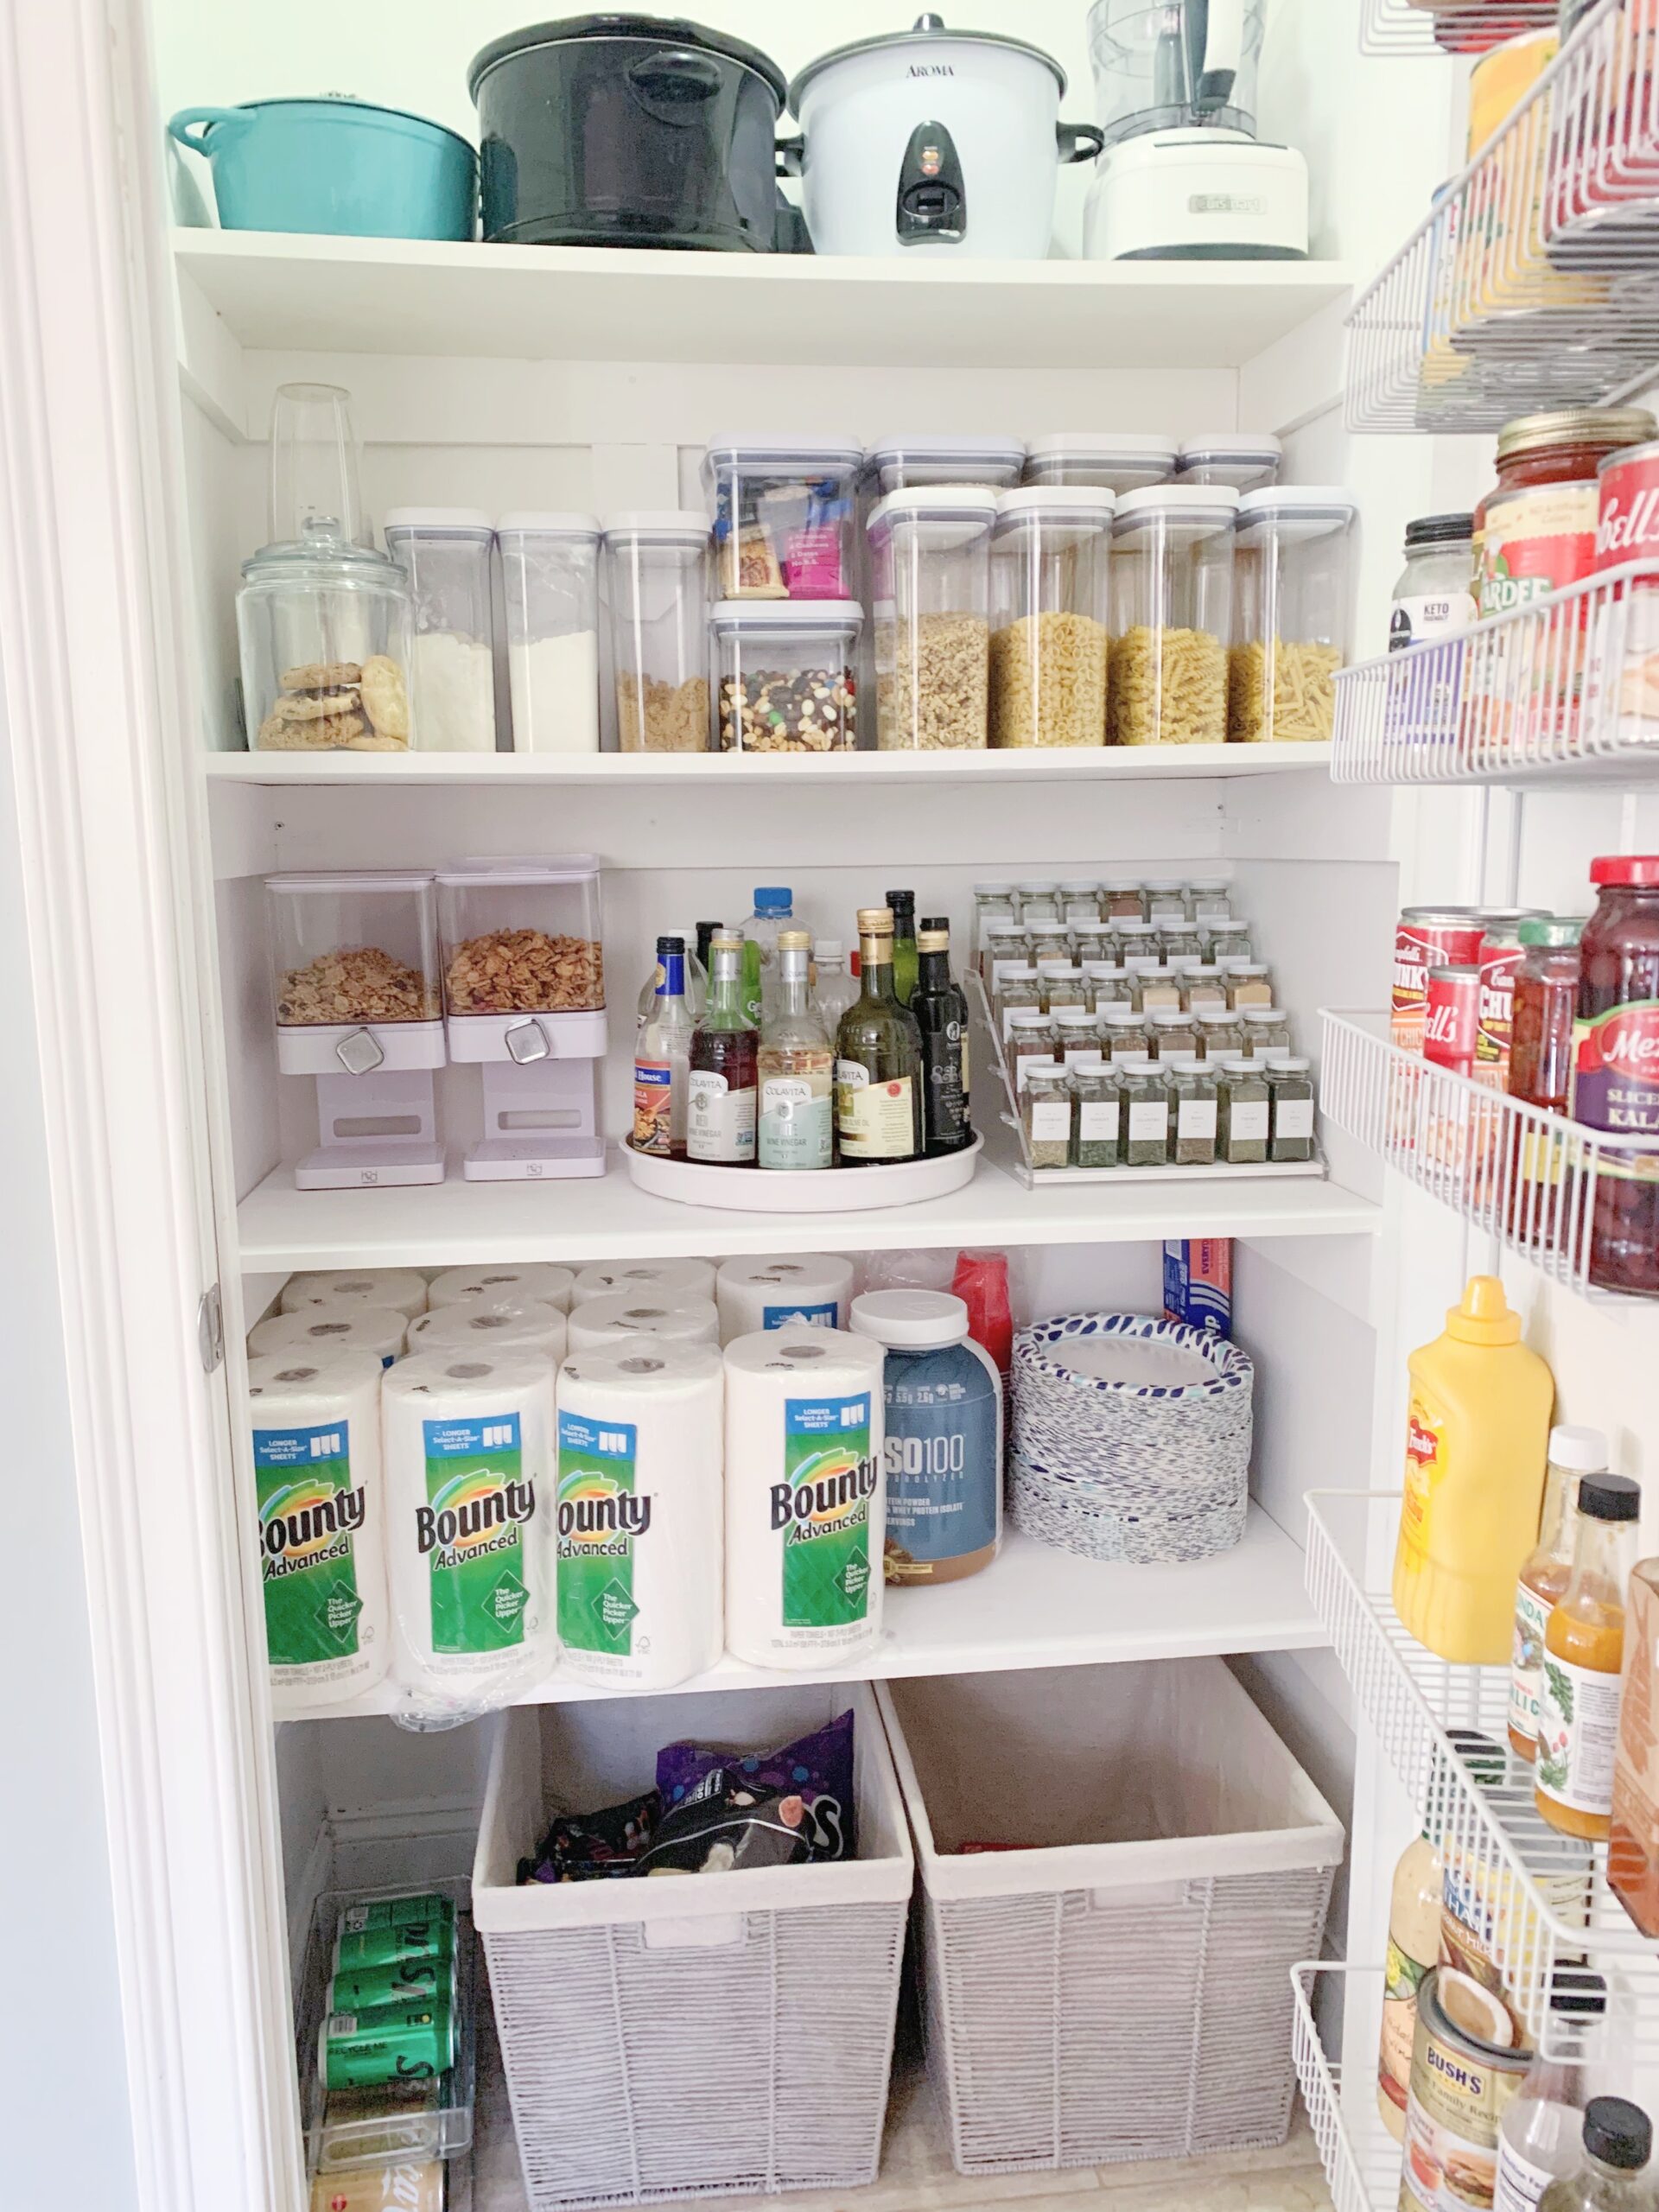
Identify which materials should go in which containers. For instance, spaghetti would be better if in a tall container to be placed in the back. We also keep a lot of rice on hand so I know that would be best suited for a tall container too. I also purchased small, stackable square containers for the smaller items like nuts and snack bars. Make sure to have medium sized containers too to place in front of the tall ones to maximize storage if you have deep shelves like I do
Step 3: Repackage
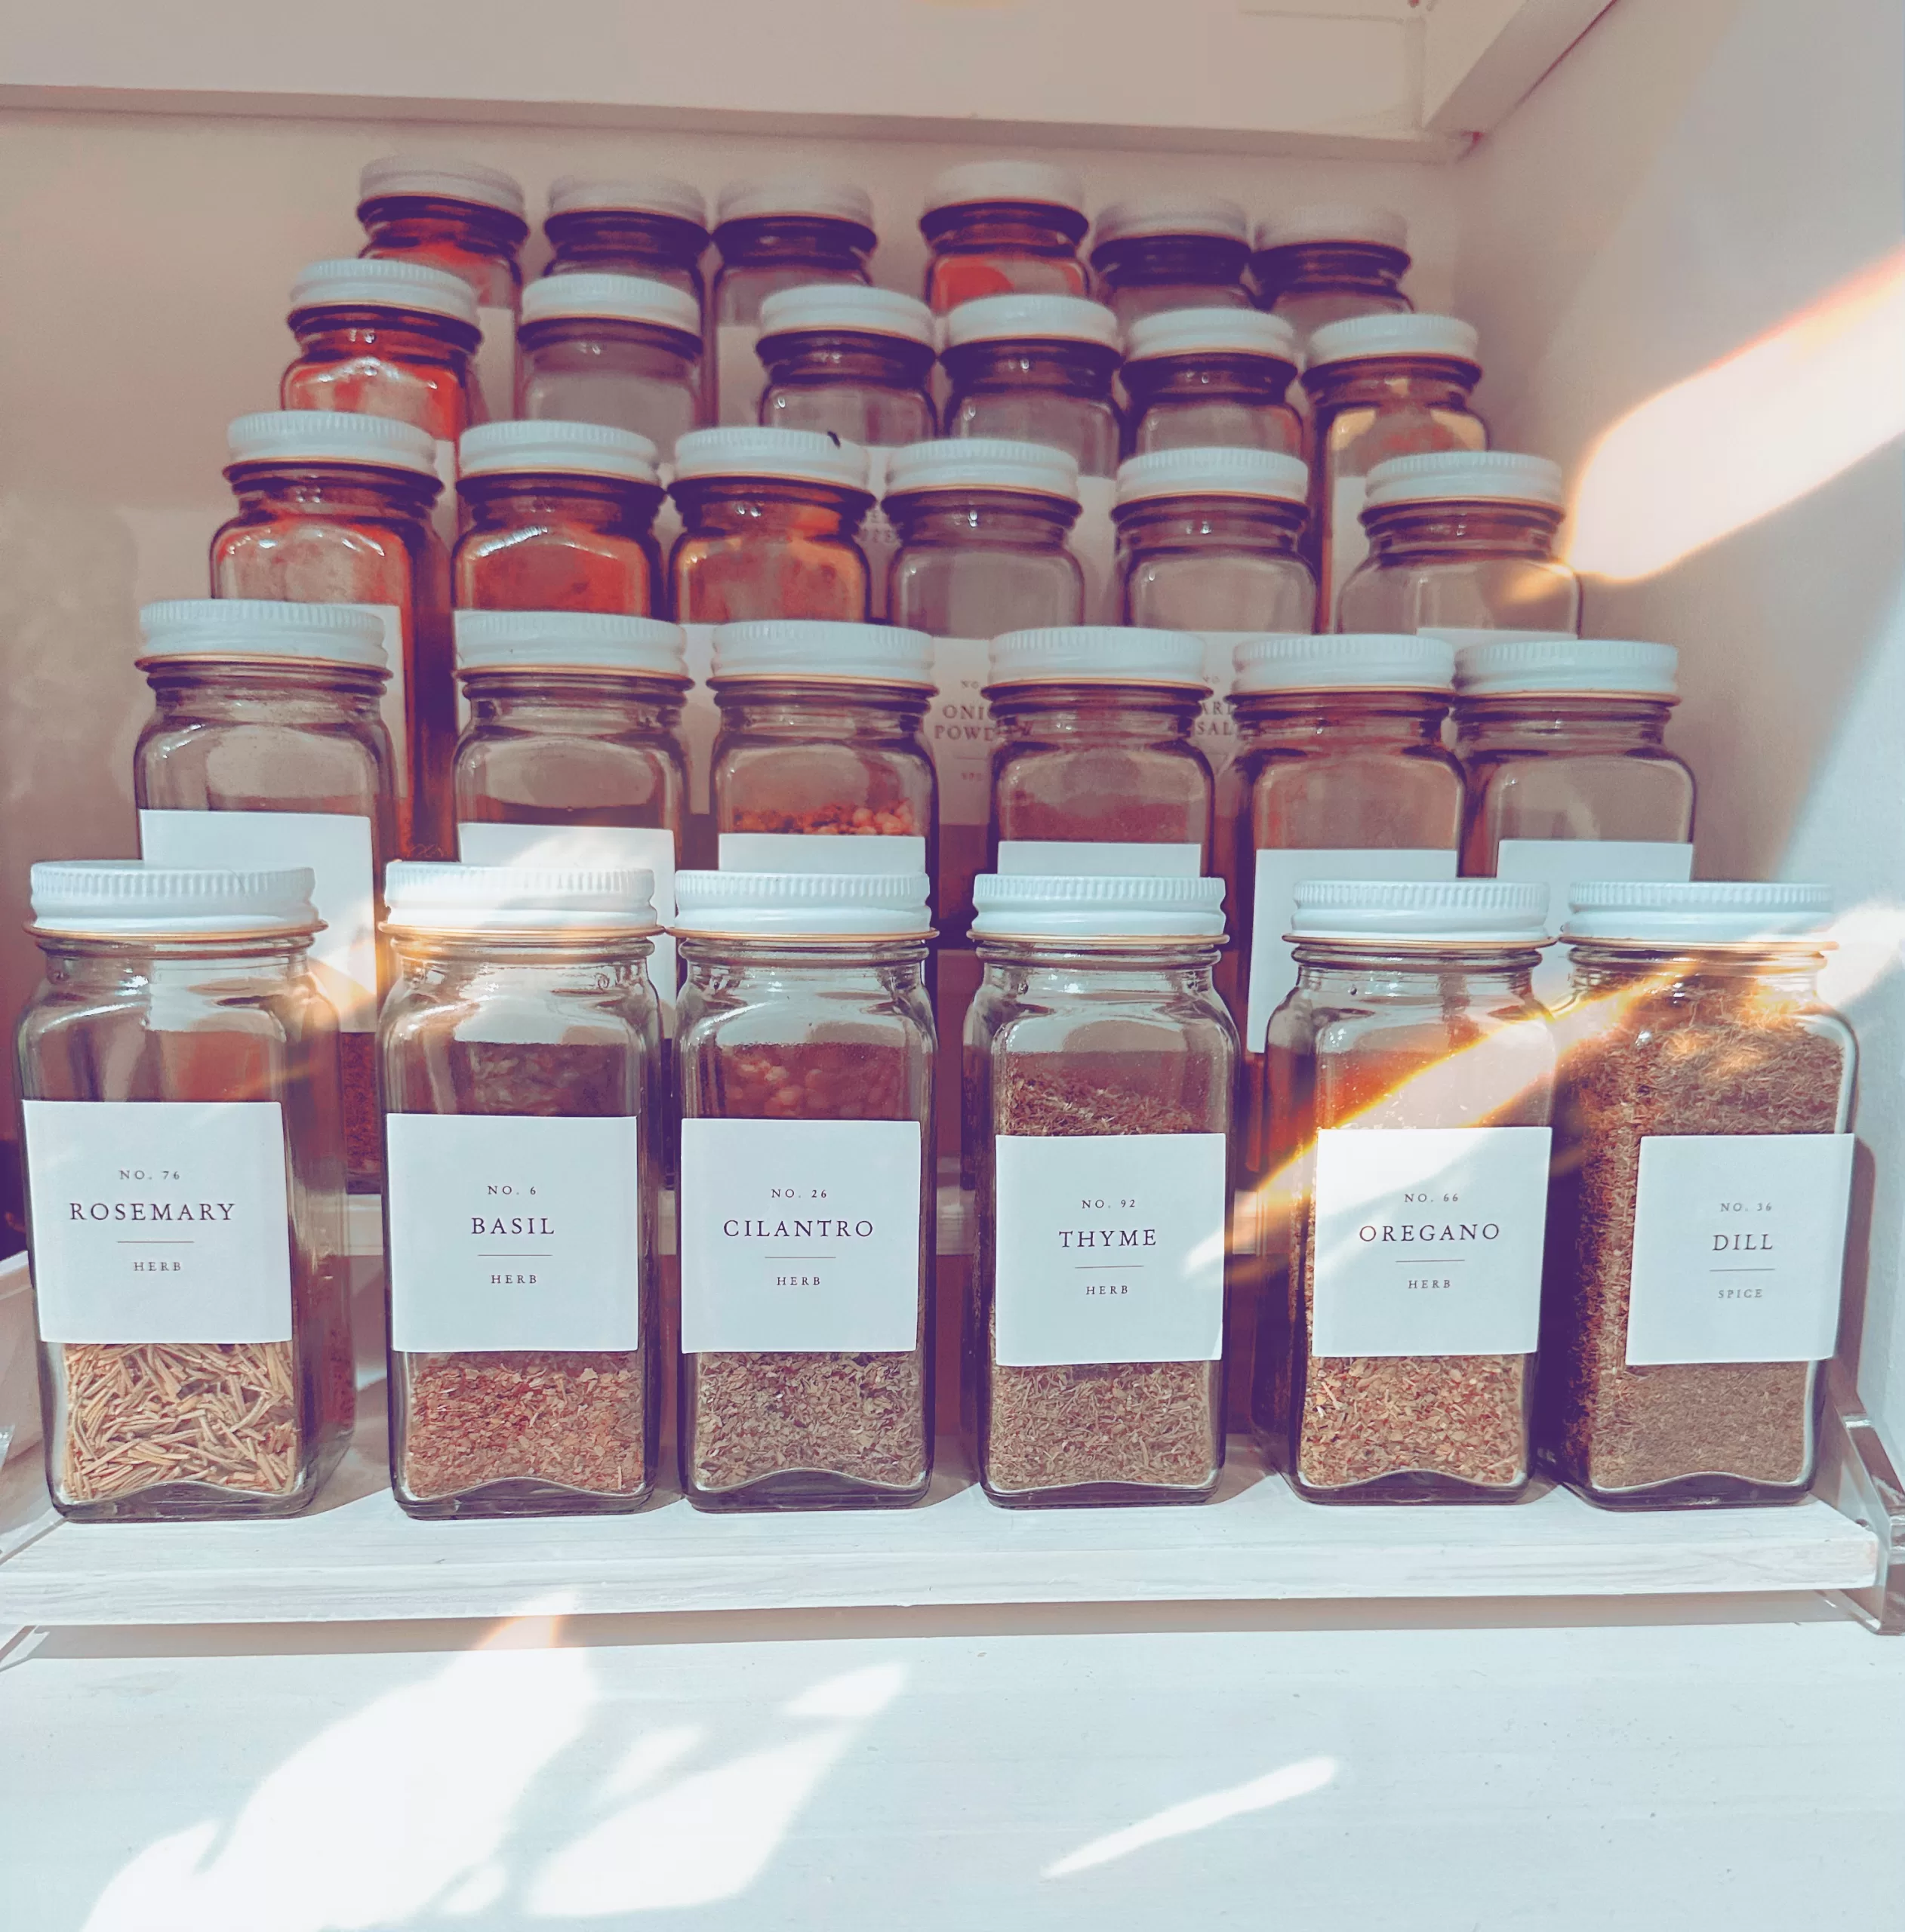
You won’t believe how much cleaner your pantry will look when you finally repackage your food items into clean, sleek containers. I prefer clear containers so I can see exactly how much, and what’s inside. Because of my clear containers, I did not see a need to label. There are a lot of cute custom made labels you can find on Etsy if you did want labels, though! Try to get clear containers of varying sizes based on what types of food you keep.
Step 4: Utilize Door Space
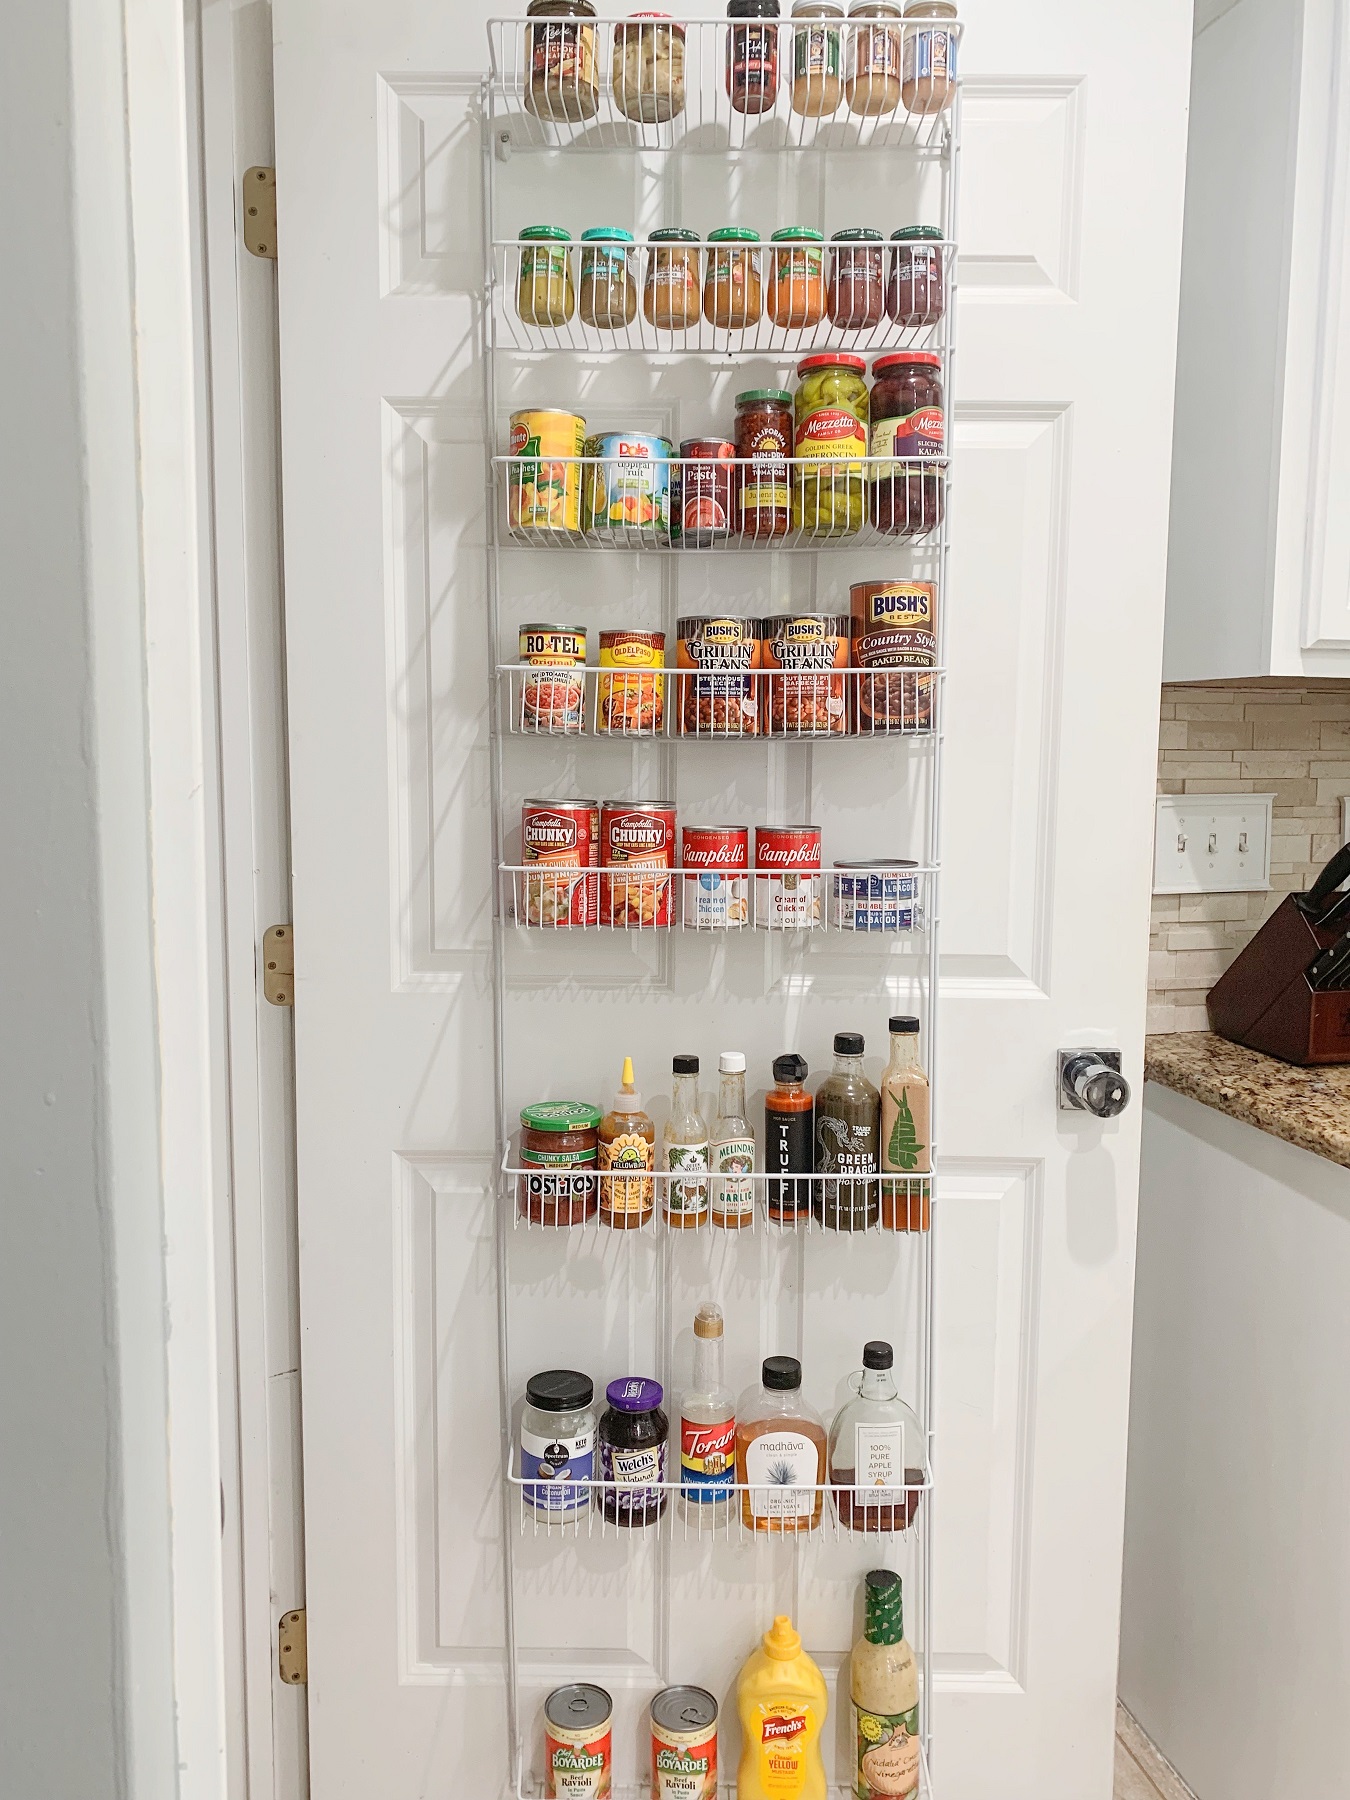
The back of your pantry door is often forgotten when it comes to storage potential. I had a budget friendly rack screwed into my door that you can find anywhere. Home Depot and Lowe’s have a decent amount of options. Use this to store jars since they can’t be repackaged.
Step 5: Bottle Organization
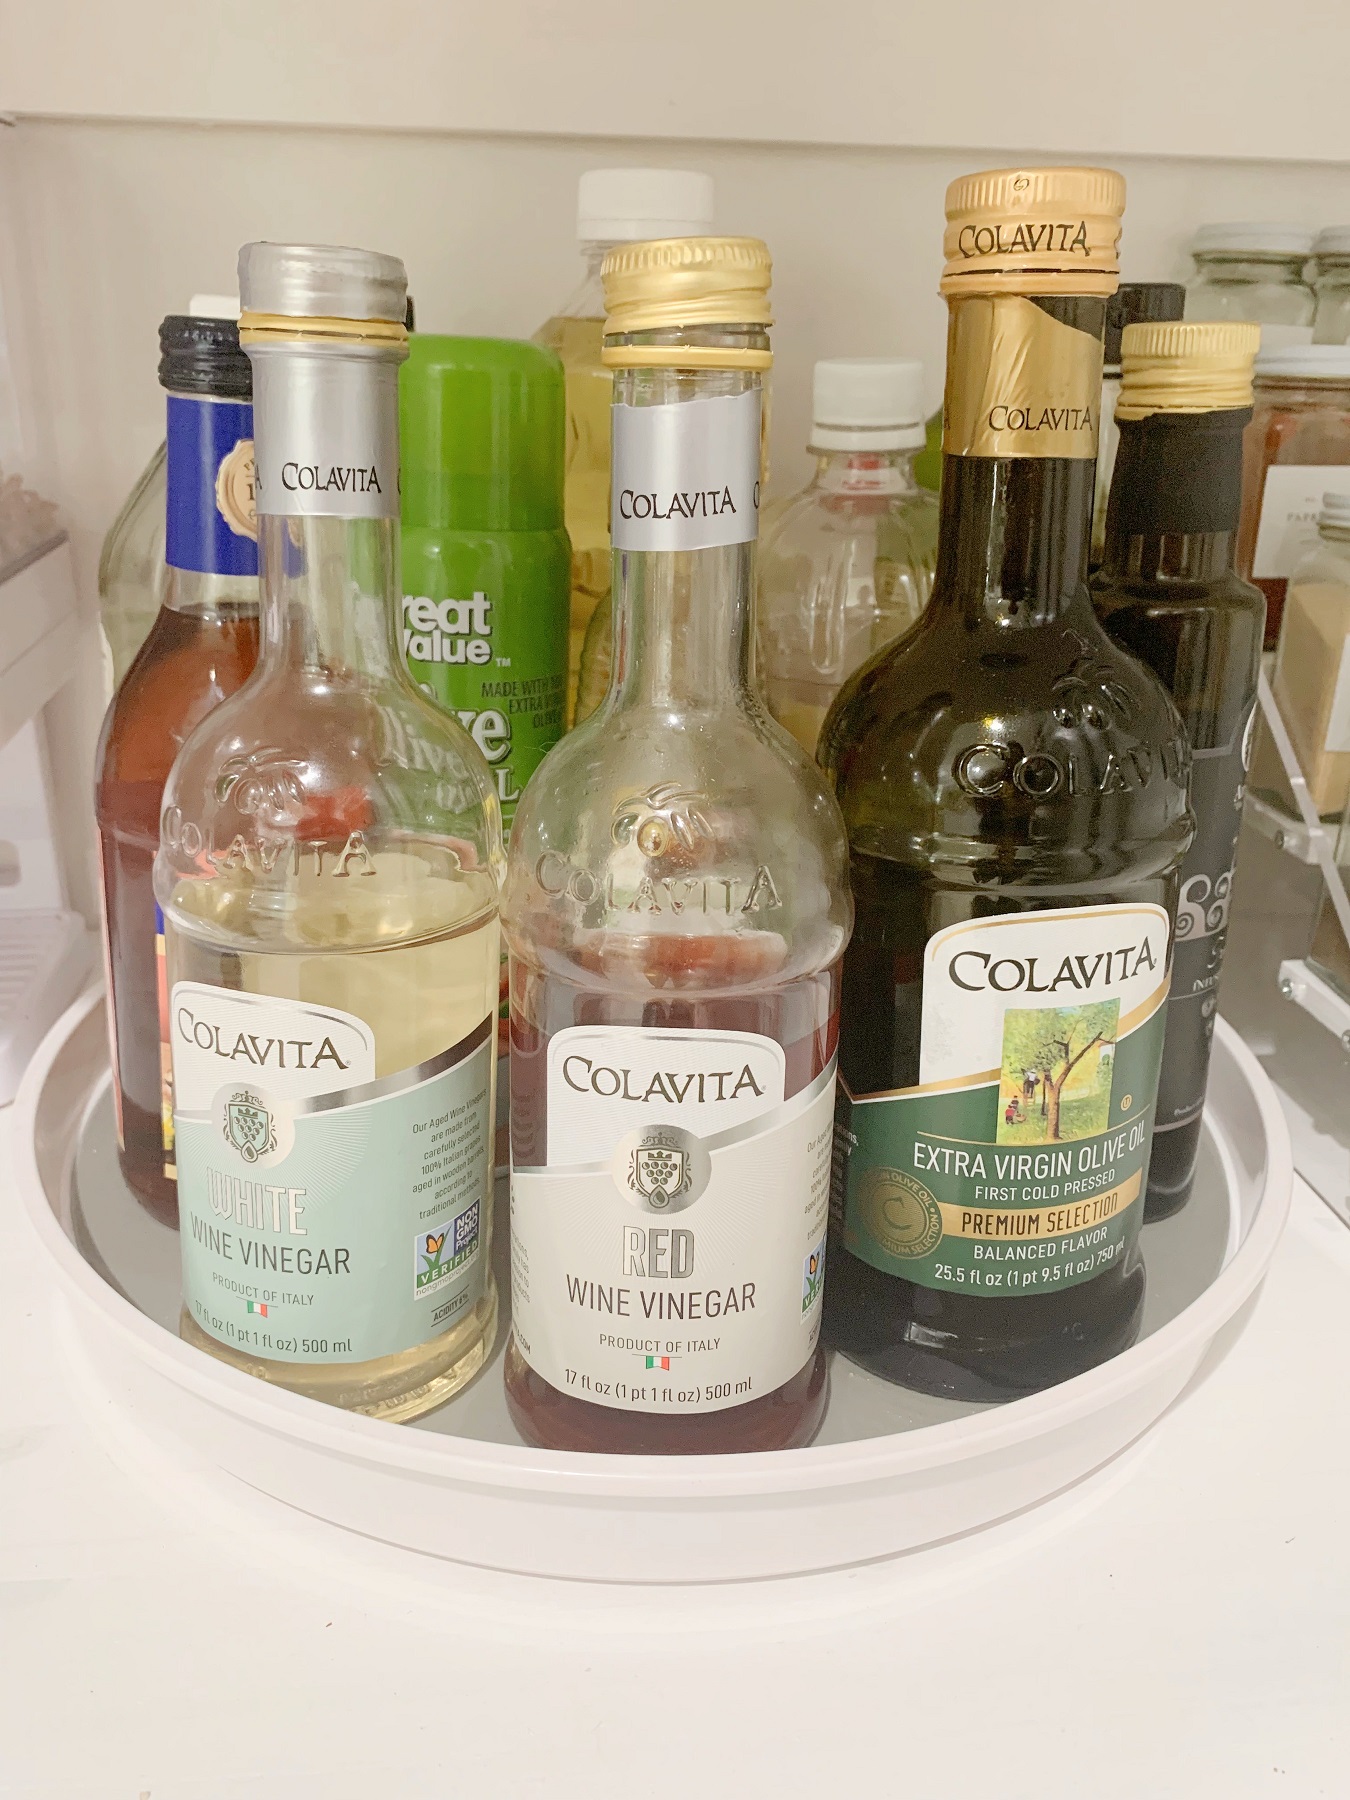
Bottles can sometimes be repackaged, but only into another bottle. When you have a ton of oils and vinegars like I do, there needs to be a way to organize them without always having to reach over things. Here is where a Lazy Susan will be your best friend. Originally, I wanted a white marble spinner but it was way to heavy for my shelving. I opted for a budget friendly white plastic Lazy Susan instead from Target. I placed my most used bottles around the outskirts for ease of access.
Step 6: Get Creative
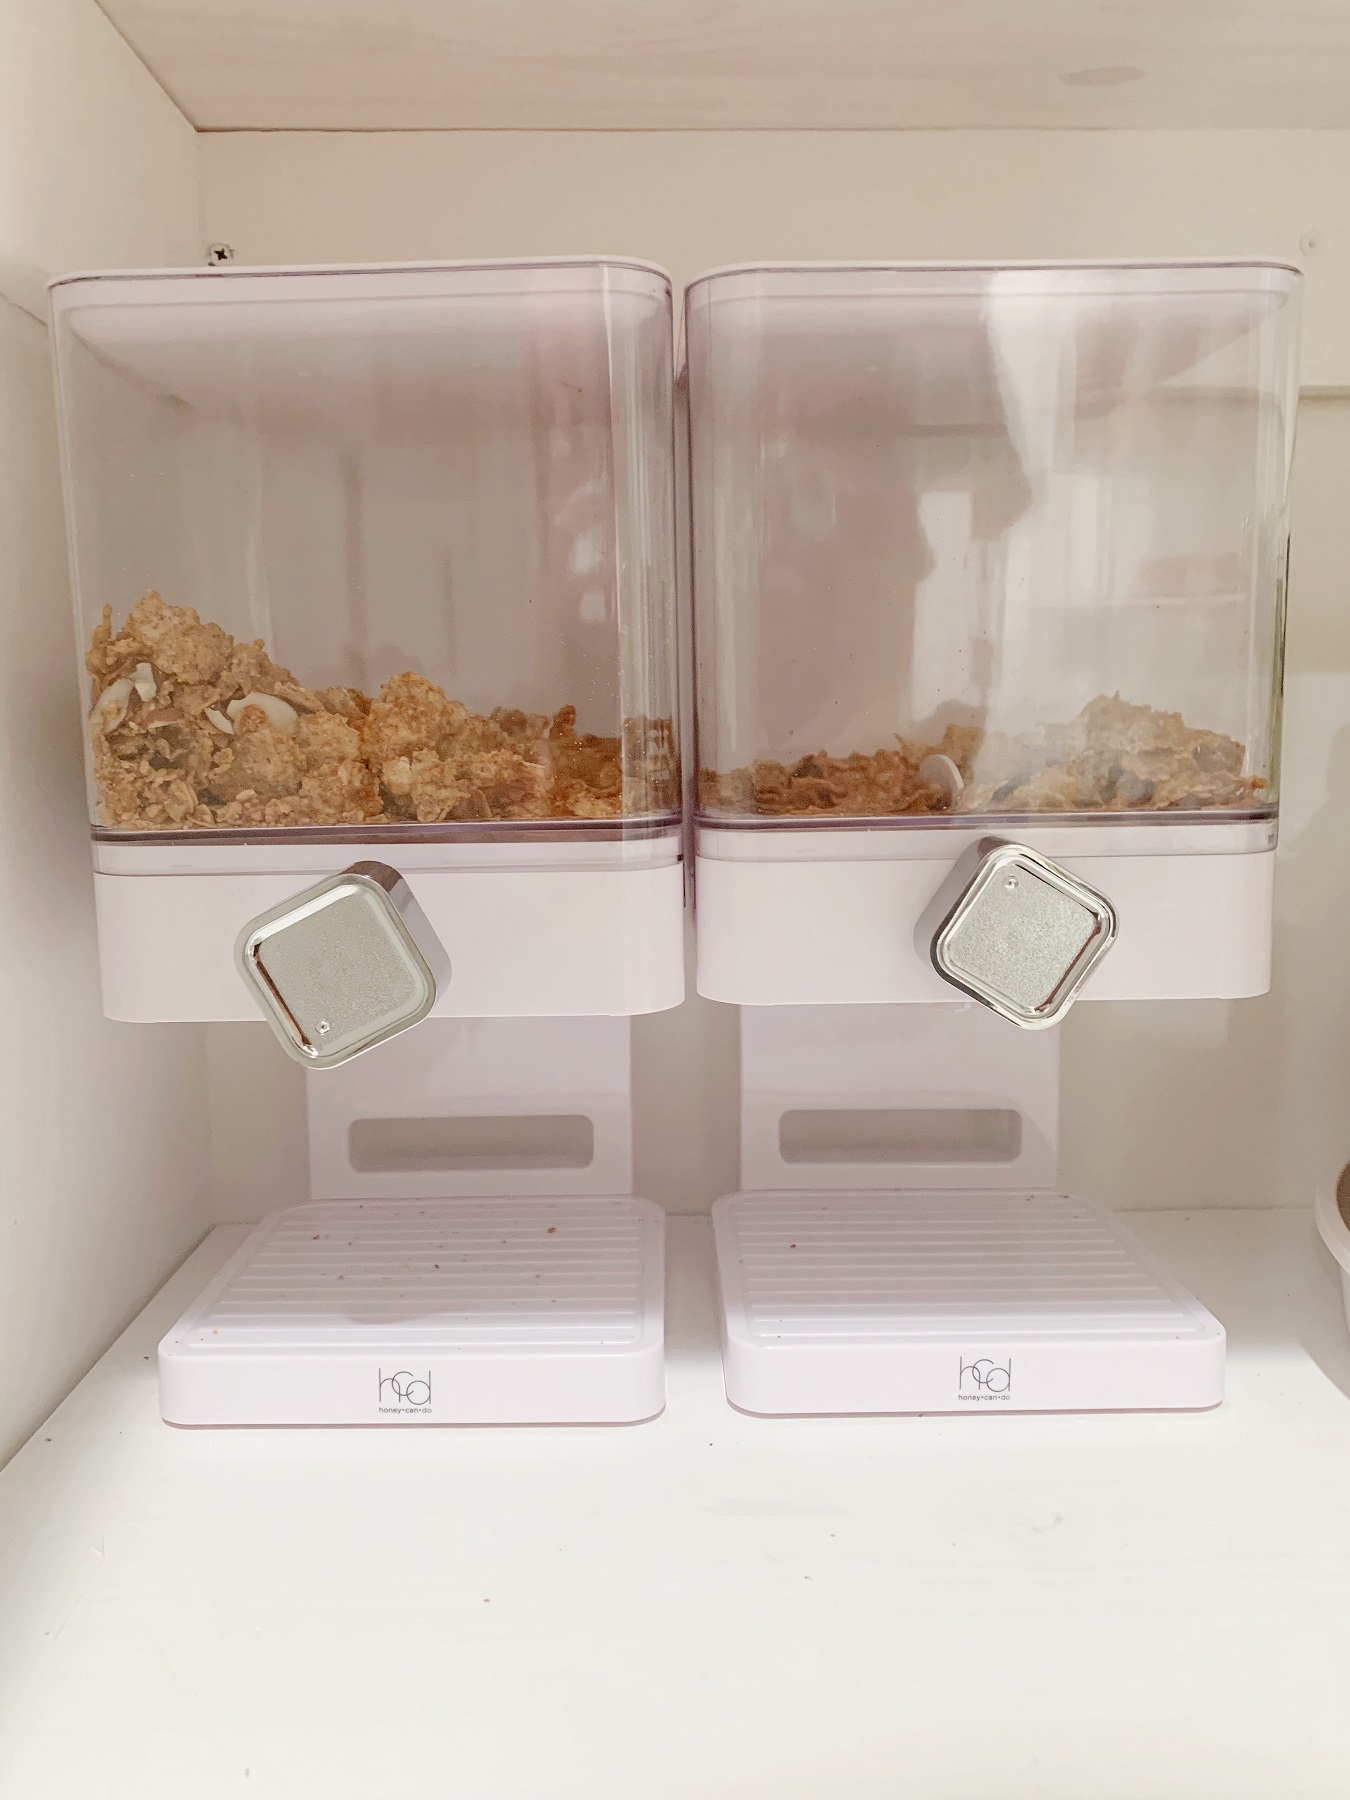
Too much of the same thing is boring. Don’t just use 2-3 types of containers. For instance, I could have just repackaged my cereal into a normal clear bin, but I felt like being extra. Why not get a cereal dispenser? Not only does it look fun, it’s much easier for children to use and adds visual appeal to your pantry. Mine came from Amazon. They have nicer, larger ones but unfortunately those would not fit into my shelving so check the dimensions. I also added a can dispenser for canned beverages to add some flair!
A well-organized pantry is the foundation of an efficient kitchen. I cannot stress enough how much cleaner this organization will make your kitchen feel. By following these steps, you can transform your pantry into a clutter-free haven of culinary inspiration. Remember, pantry organization is an ongoing process so make sure to regularly assess and maintain your space. With a little creativity, you can have a pantry that not only looks great but also supports your cooking needs!
Note: This post may contain affiliate links. I only share the products I use and hope you enjoy them as much as I do!
