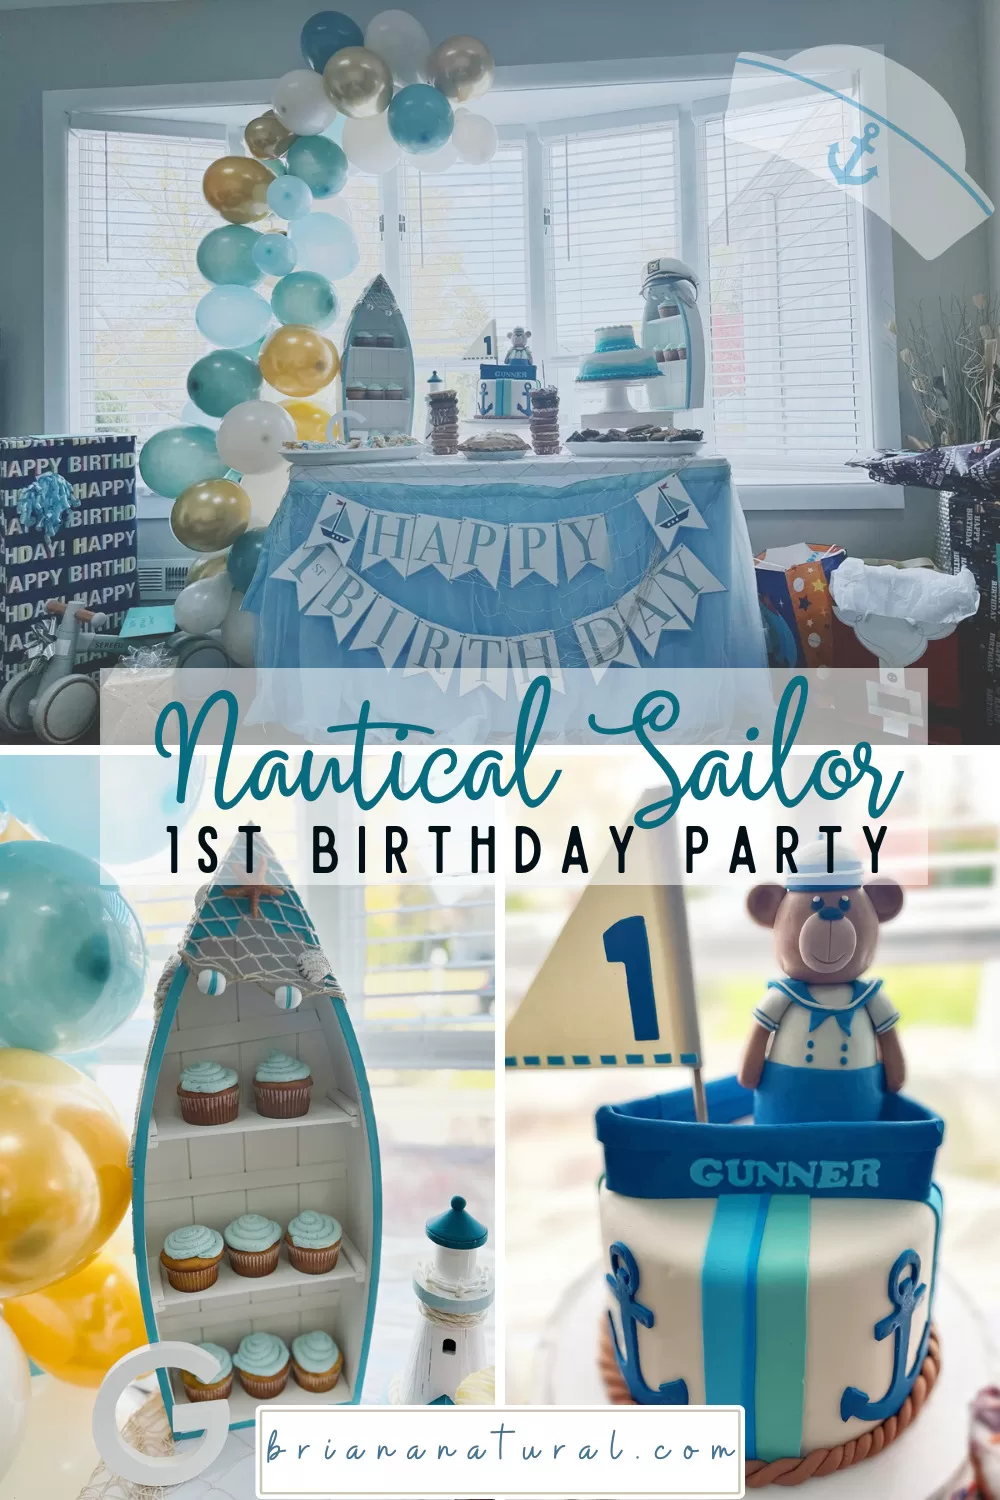
Ahoy! Baby’s first birthday party is right around the corner and it’s time to start planning! As moms, it is SO easy to drag our feet on big events like this when you factor in the load of daily duties and responsibilities. Planning my sons first birthday was extremely important to me because it’s his first. That makes it more celebratory in my “over the top” mind. I think it’s ok to go a little crazy trying to make our babies know they’re cared for… right? They might not remember it, but the photos will exist to show them in the future how celebrated they were!
With so many popular first birthday party ideas out there, planning can be extremely overwhelming. Choose what theme reflects your baby and family life the most. Living in Connecticut, we have a very big sailing theme here. I really wanted to capture that when I began planning for my sons first birthday. Dad was also in the Navy which is why we settled here in the first place, so a nautical first birthday theme seemed like the best (and cutest) idea for our little sailor.
In this post I really want to review what worked, and what didn’t. What was worth my time, and what wasn’t. I also want to explain what was a complete waste of money and what I should have spent the extra cash on to avoid myself a load of stress. I’ll also throw in some links to the best items I purchased. So read along as we take a voyage into how to create the perfect nautical first birthday party!
Nautical Party Décor
A nautical sailor themed birthday party needs décor that reflects the ocean, but not too much ocean If that makes sense. Rope knots, sailboats, blue and white stripes, anchors, and ship’s wheels (helm) are the most common decorative items. I tried to incorporate these into each area I wanted to decorate in small bits so that everything would tie together in the end. A lot of these items can be a DIY project which I did do myself, but most pieces I just purchased to save time since I was doing all the planning on my own and had a full time job and household to run. I wanted a softer, calming look for his party and shied away from bold colors commonly seen in sailor parties.
Balloon Arch
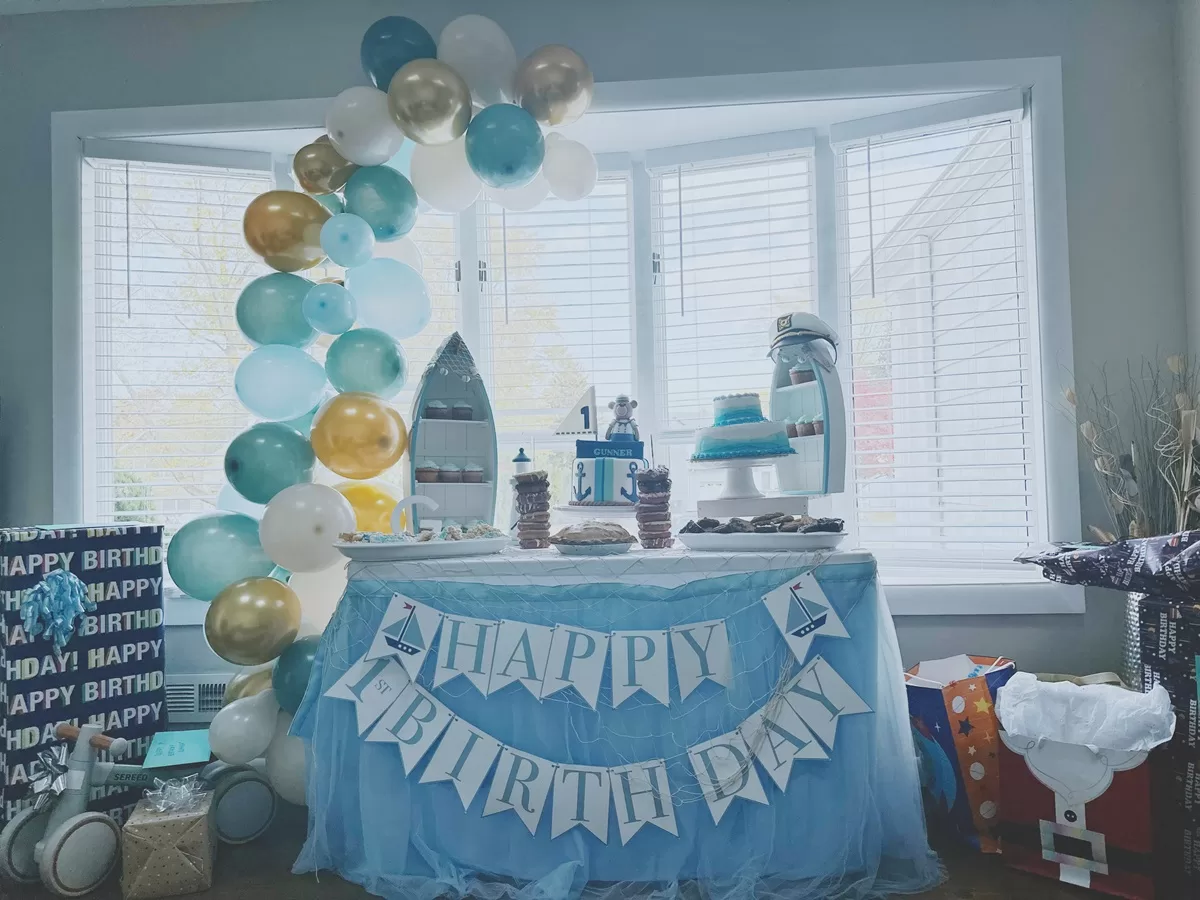
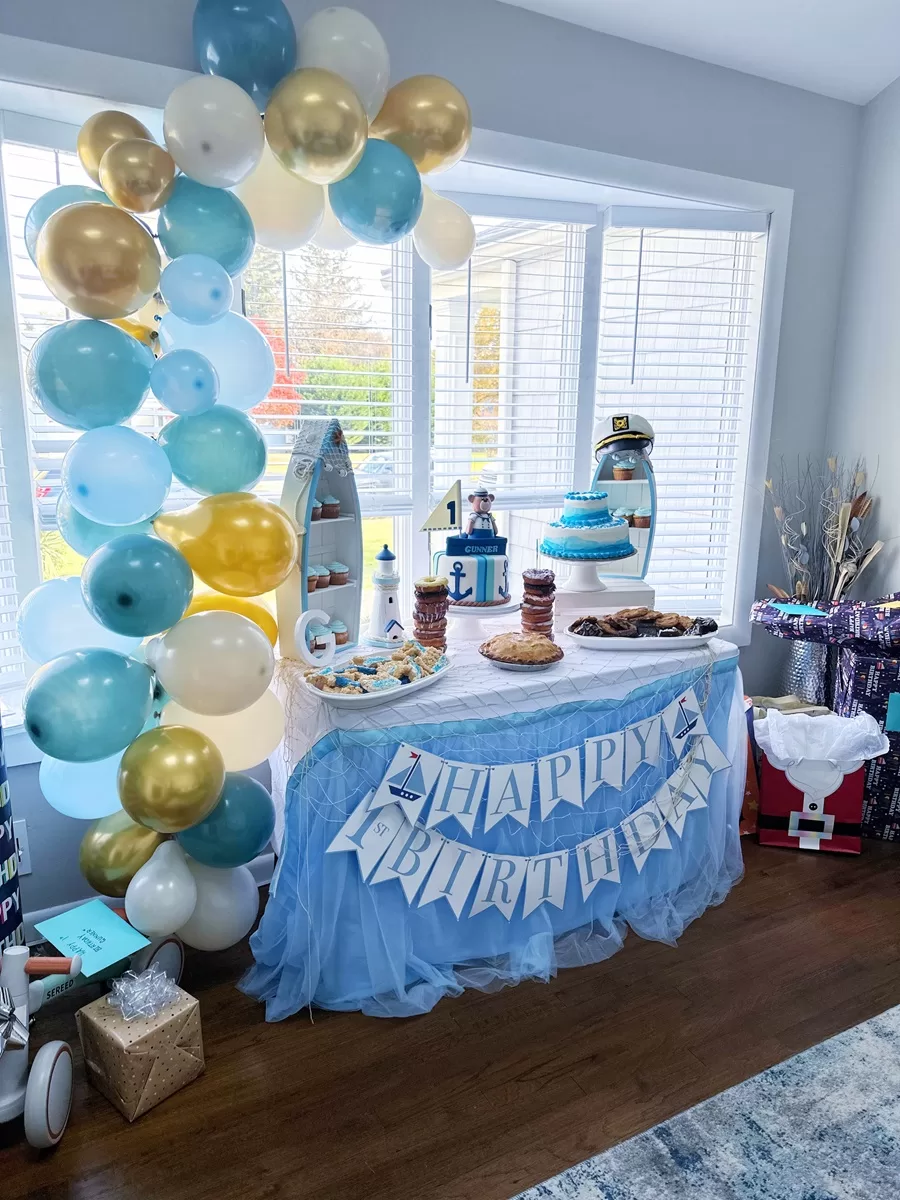
The dessert table is the area I wanted to make the “photo spot”. This is where I went a little crazy. For the blue balloon arch, I ordered a dusty blue balloon arch kit from Amazon and was able to put it together as my husband filled the balloons within minutes. This comes with a plastic strip with holes that you pull the balloon knots through and balloon glue stickers that allow you to stick smaller balloons to the bigger ones. Once the balloon strip was filled, I taped it to ceiling so it was draped over the side of the dessert table. Great for someone with no experience! It had nice hints of white and gold to add some color.
So here is where I messed up – the actual arch! I bought an actual arch that I thought was required to hold my balloons in place. I didn’t realize the balloon arch could be taped to the wall. However, if you are doing this outdoors with no area to tape the balloons, you will need the arch. There are plenty on Amazon. The second area I messed up was size variation. This arch could have been so much more full and appealing to the eye if I made more smaller balloons and organized them better. Again, this was my first time doing this so I won’t come down on myself too hard.
Dessert Table
There is nothing cuter than a ruffled blue table skirt to hide the folding table legs. This came with stickers to stick to the side of the table and drape around the edges. I also put a happy birthday banner in front of the table last minute that I purchased from Etsy.
Cupcake Display
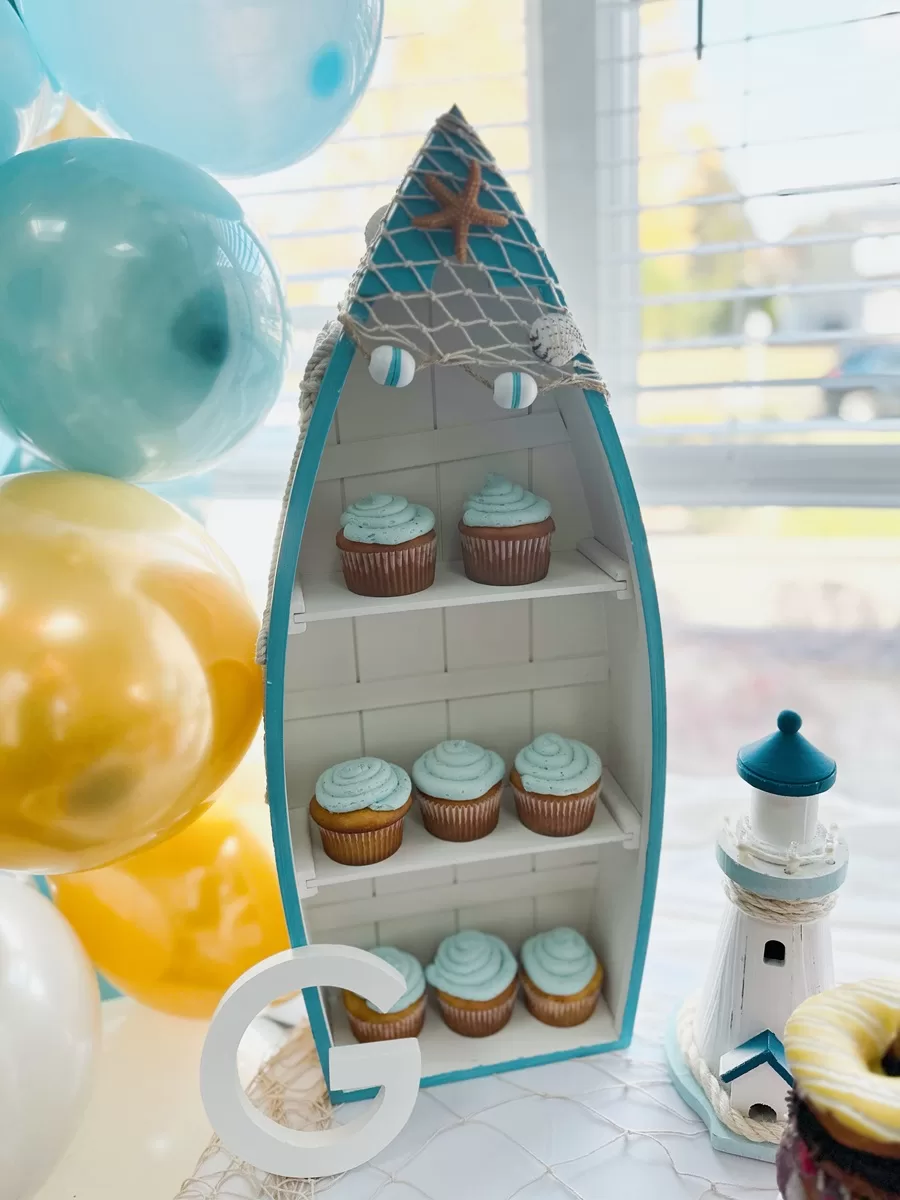
The cupcake display is what I feel made the table the true centerpiece of the party. I was able to get a 2 pack of decorative boat displays from Amazon for about $78. Walmart also sells it. This comes pre-decorated and held about 25 cupcakes between the 2. I know it’s a little pricey, but these can be used for events in the years to come or even part of your home décor! Drape with netting for an even cuter look.
Birthday Cake Display
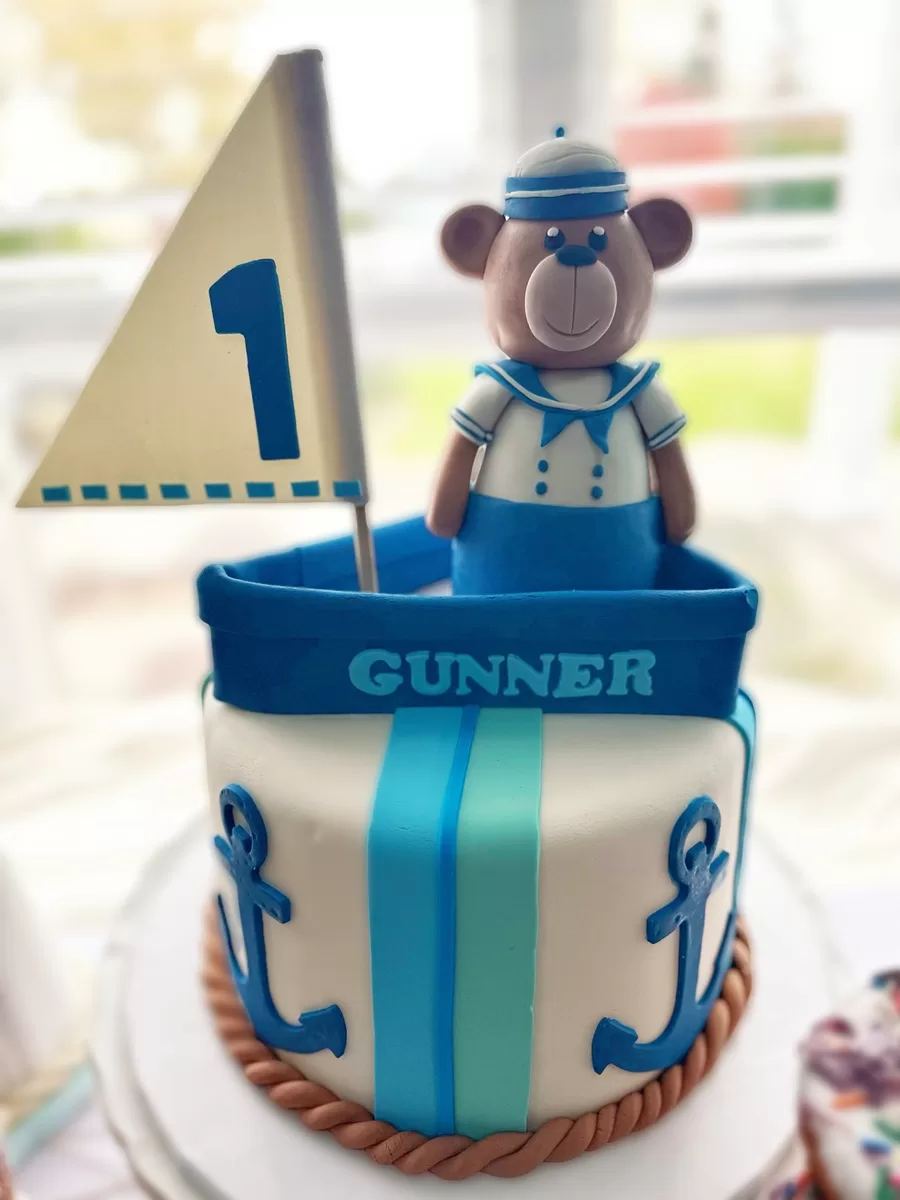
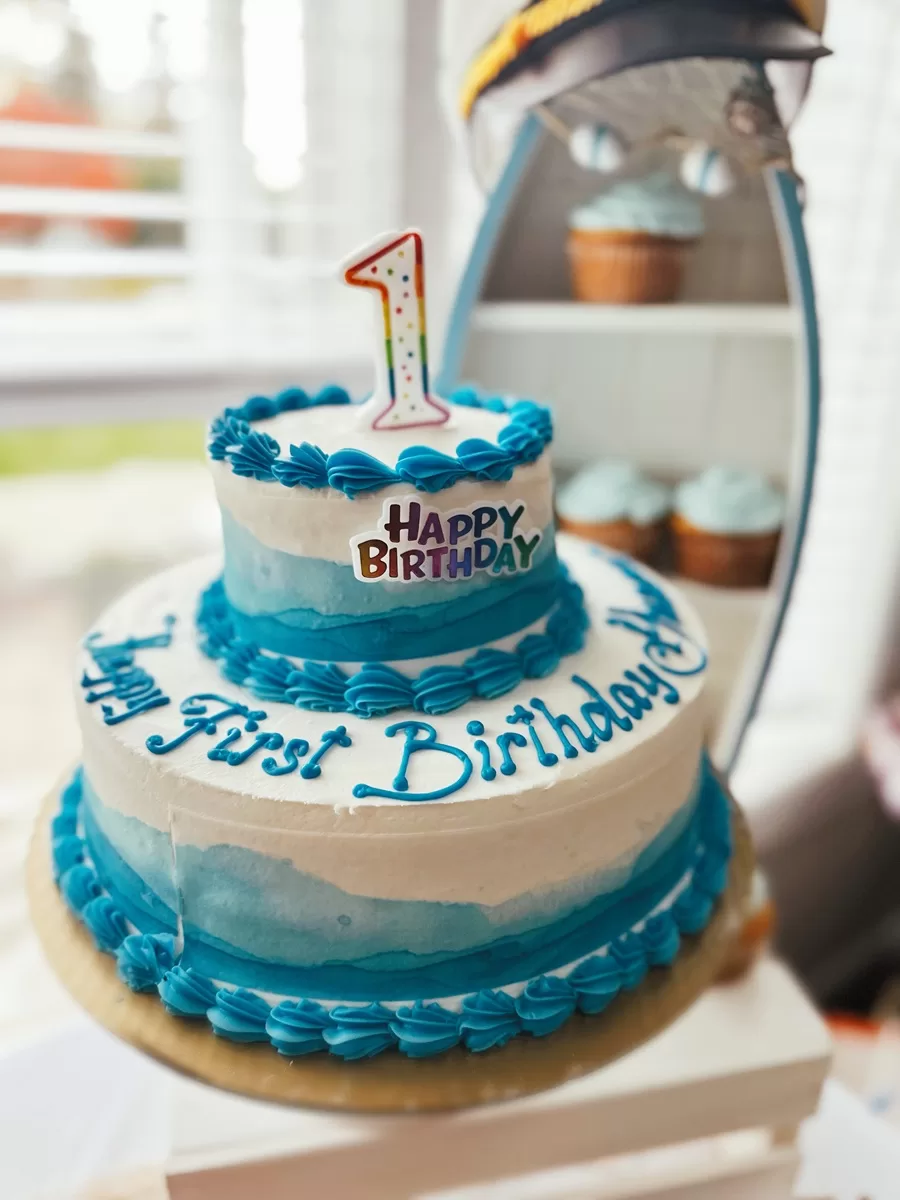
Maybe this is a little much, but I knew I wanted my son to have a centerpiece cake that was the real focal point of the dessert table. The problem with fancy, theme cakes is that they are PRICEY. Many of them also use fondant which is very thick and chewy.. not great for serving. I went the smallest size possible for the sailor cake, but bought a large BJ’s cake to serve to the guests. And yes.. I know many may be asking about the smash cake at this point. That can easily be done at home or just do what I did – give them a slice of cake! Baies barely eat at this point. It’s more about seeing your little one enjoy some dessert, get messy, and taking some forever photos. They will love it!
Party Desserts
Cookies
Here is where you can get creative. Start with custom cookies. One thing I wasn’t aware of is all the local bakers in almost every area (not speaking about actual bakery businesses here)! I immediately resorted to looking at the local bakeries, seeing that they didn’t have much to offer in terms of kids cookies, and resorting to a private baker on Etsy. This was a major fail as the baker wound up discussing in detail what custom cookies she would make for my sons party, taking my money, and never even shipping my order. I would recommend choosing a local baker (or making them on your own if you’re that talented). Anchors, sailor hats, helms.. you name it. Anything will work for cookie shapes with pretty icing that matches your party colors.
Treats
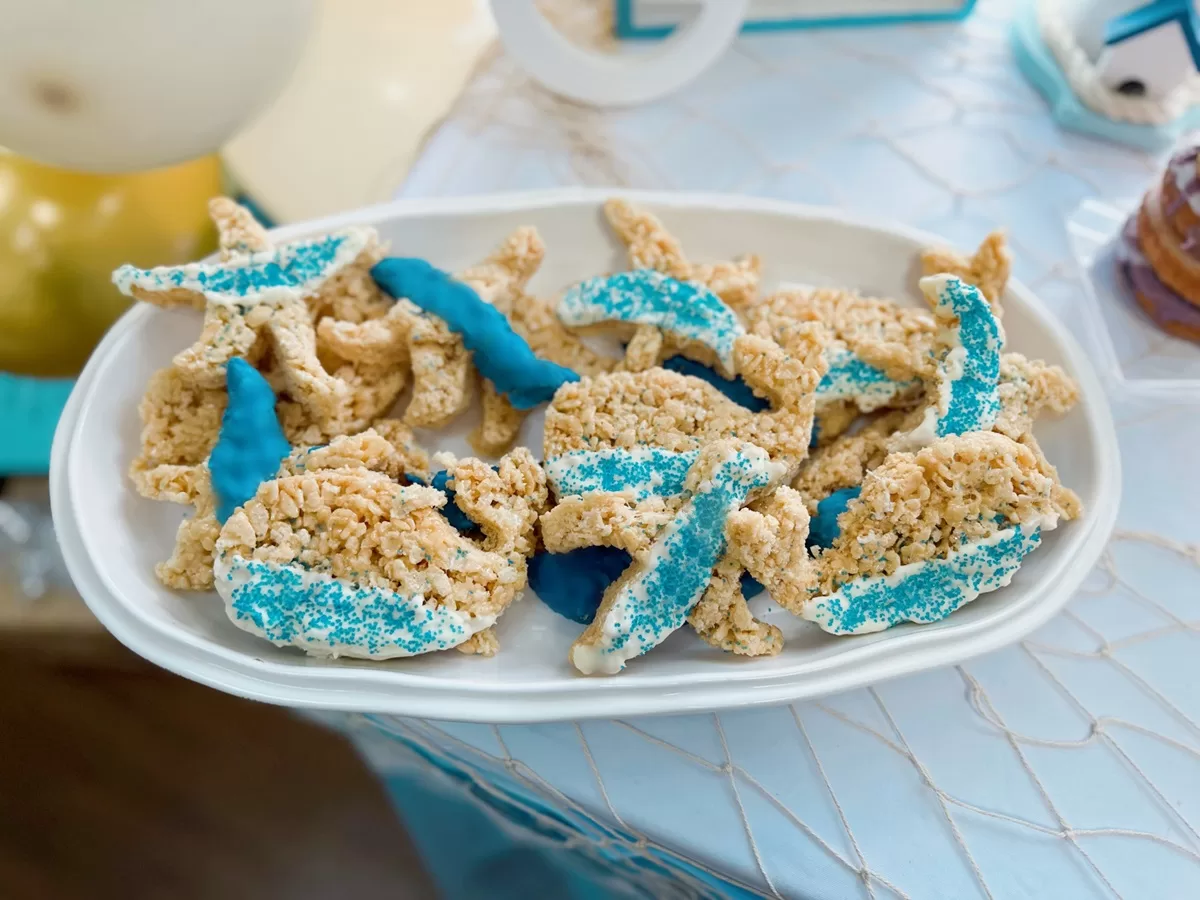
You can purchase cheap cookie cutters of whales and starfish and cut rice crispy treats out of them. I dipped them in melted white chocolate and added some food color and sprinkles. Also, cake pops were a huge hit! This was my first time making them and I was able to learn easily through YouTube. They were cheap, easy, and quick to make.
Candy
I ordered rock candy in the colors of the party (blue and white) and milk chocolates wrapped in blue foil. These should be displayed in a tall candy jar for the best appeal (which I clearly forgot to do).
Pie
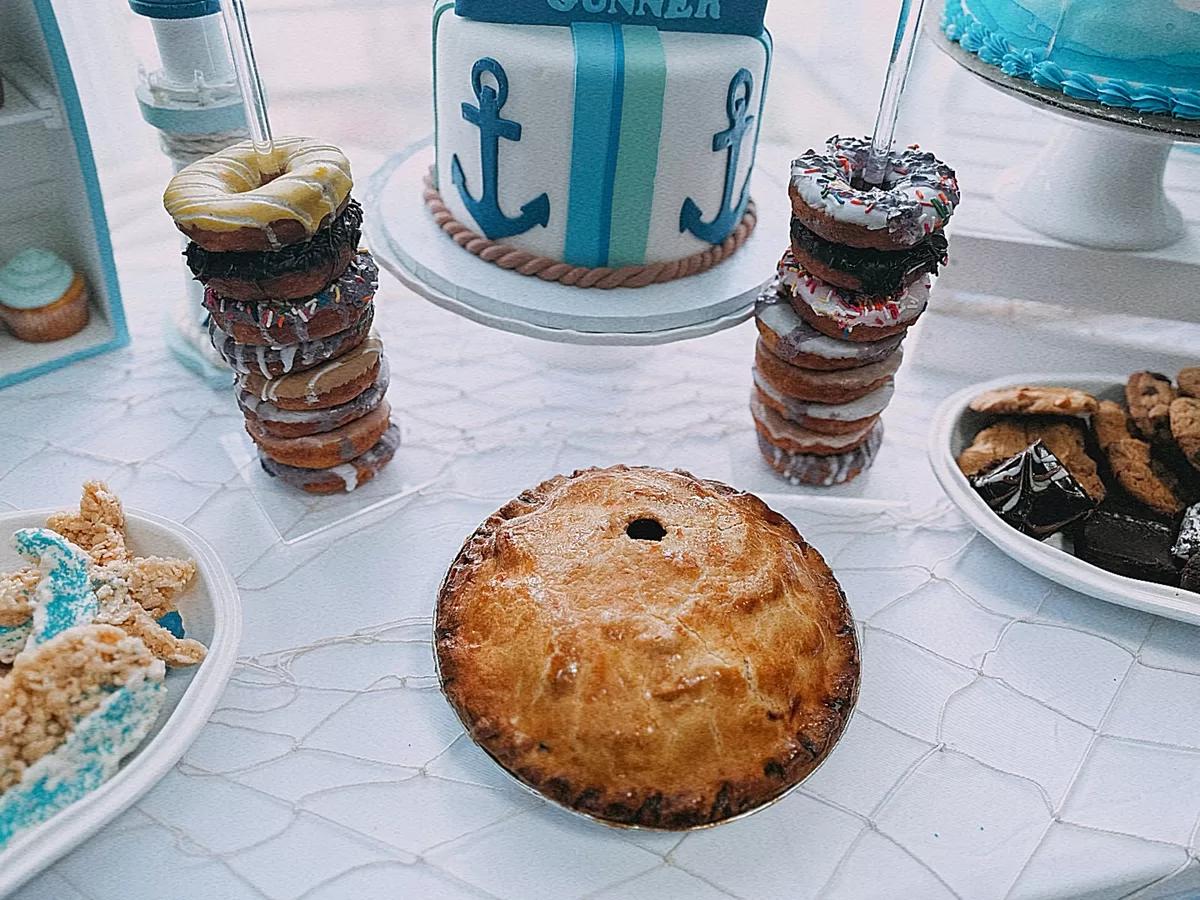
Maybe unnecessary, but my baby boy is sweet as pie and I just had to bring one. Go with a pie that has colors for the party. For example, blueberry pie for a party with blues, apple for browns, raspberry for pink/red, key lime for greens, or pumpkin for oranges.
Donuts
Completely necessary for every kids party. I purchased donut stands for a very low cost to display the donuts and ordered them with icings that matched my party. I did blueberry drizzled donuts, some vanilla icing, and some that were just glazed. If you want to keep things clean, I recommend going with just glazed because the donuts with icing tended to rub off a bit on the donuts they touched.
Food Table
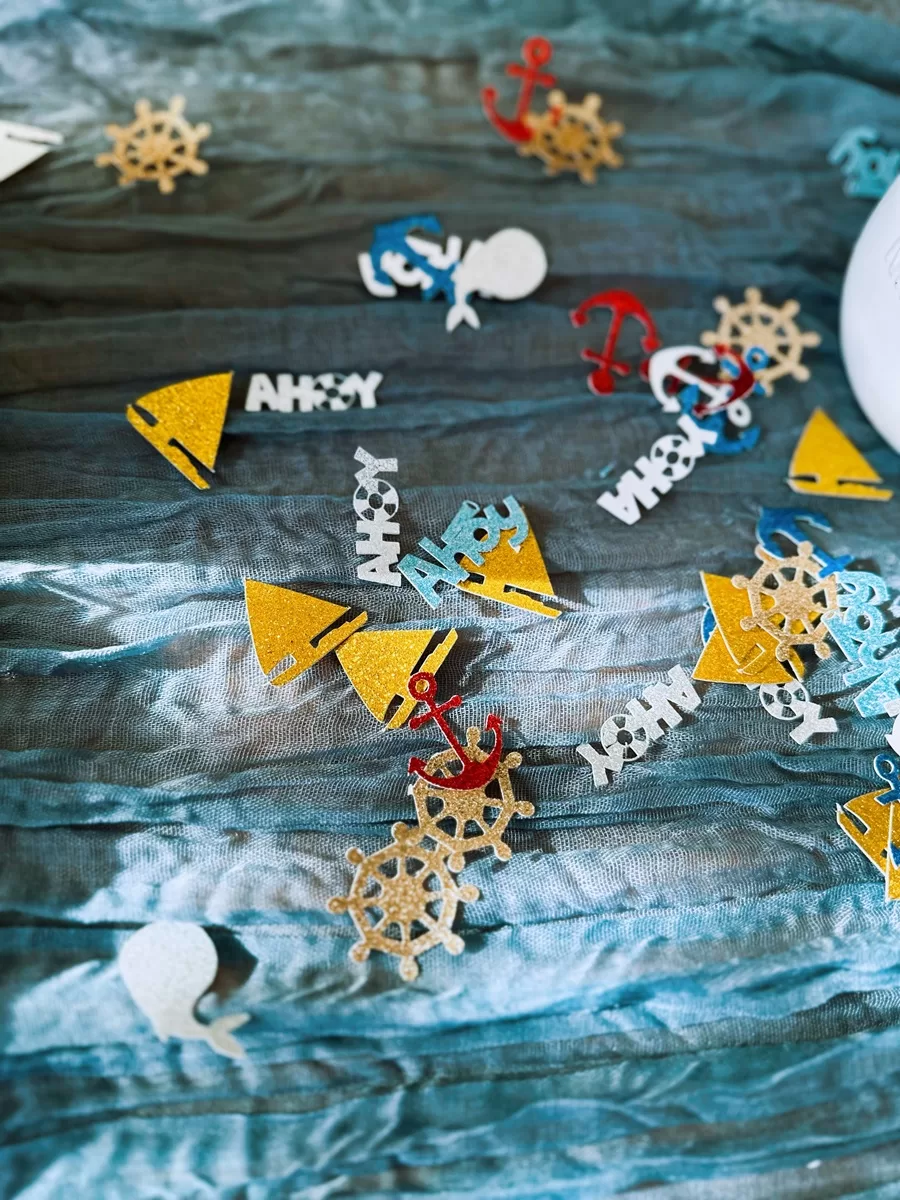
For the tables where everyone was going to eat, I kept things simple to avoid clutter. Amazon sells an affordable gauze table runner in a dusty blue color which was shockingly beautiful for the cost. I then sprinkled nautical confetti along the runner. I also painted some glass mason jars blue and white to make them look like buoys. These jars were perfect for holding utensils.
Party Highchair
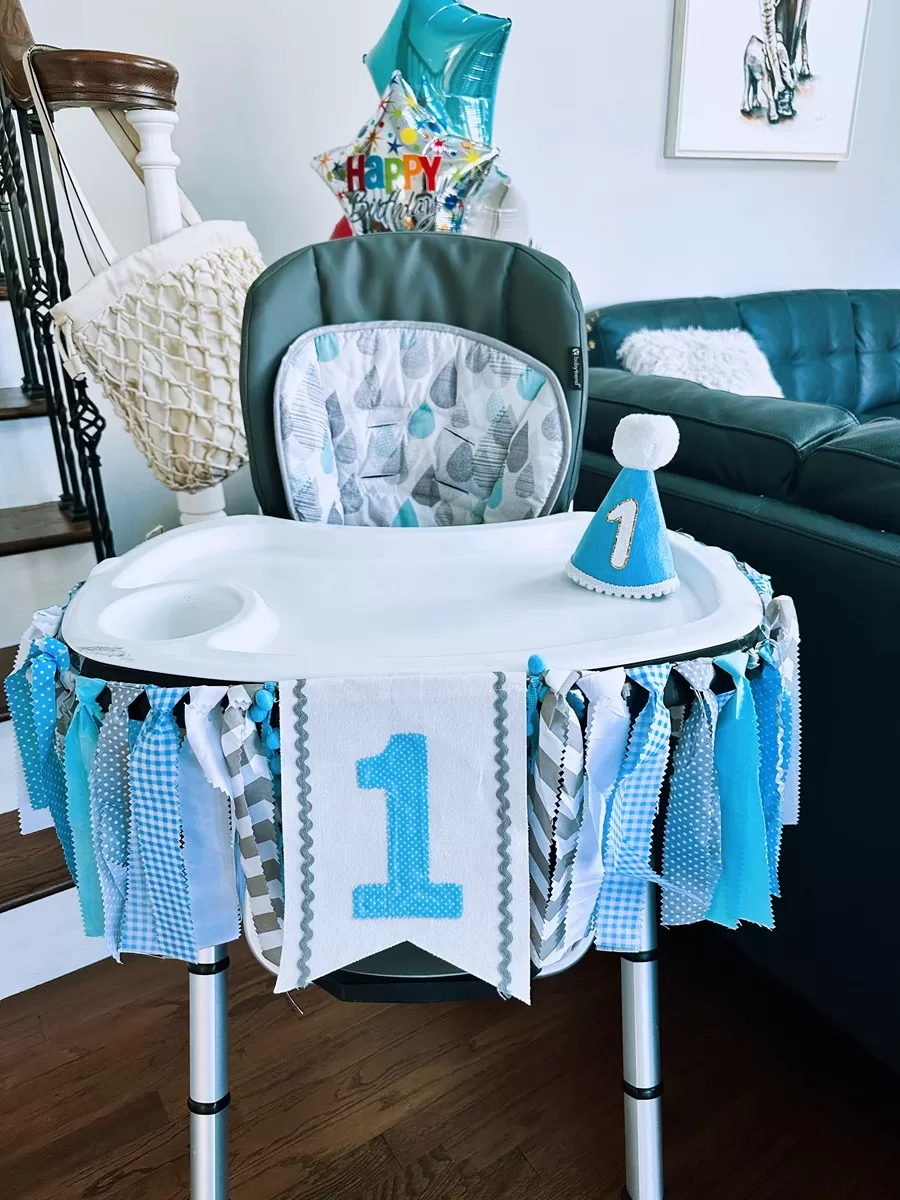
The highchair needed to be decorated for the cake smash. I decorated this with a 1st birthday banner and made sure to get my son a party hat to match. There are plenty of cute cake smash outfits out there for those who care for it!
As you prepare to celebrate your little ones first voyage, this nautical themed first birthday party is sure to bring a tidal wave of joy! Remember that every element can be modified for your budget and designed to suit your style. What I learned from this experience was that creating a beautifully designed party can be relatively cheap if you know what to purchase. Balloon arches are easy to do and create the perfect photo opportunity, party themed desserts are simple to make and draw a lot of attention to the overall first birthday party theme, and the banners I purchased could have easily been made at home. I hope this post helps guide you into creating a nautical birthday party that is truly seaworthy!
